THE PIXELSTICK
The pixelstick is a lightpaining tool for the creation of new analogue and digital art, a powerfull mixed-media-device which can be usefull for type-lovers and creative minds. Basically it works like a scanner.


I was fascinated of the options when a friend of mine helped me to build the first Arduino-based RGB Pixelstick with 104 LEDs. Only a couple of months later BitbangersLab came up with a pro-version and I invested in a finished one to have two different sticks.
On the web you can find lots of different DIY instructions if you search for "DIY pixelstick", specially if you´re up for soldering electronic parts and working with an arduino. The advantage of a custom made stick is the flexibility of creating buttons and different options compared to buy a finished version.
There´s also a smaller version with 60 flexible LEDs on the market offered for a fair price by blinkytape.
So here I have collected my experiences while working with a pixelstick that could guide you to some exciting new options.
THINK-QUICK-GUIDELINE
-
Be aware that a pixelstick includes computer work upfront. This might take a while before you can start with the real action. Name your files propperly so you know later on which picture shows up in the darkness.
-
It´s also a good help to take a snapshot with your mobile device from the thumbnail-overview of the SD-card, so you will know exactly which picture is selected on the stick later on.
-
The pixelstick works like a scanner, blasting out one line of a picture after the other. It also allows ongoing repetition of a file or just a single playback. You can use this for leaving a complete image in the picture-setting or you just use it as an abstract pattern generator. Depending on your movements and walkingpaths, you can create completly different results from the same picture.
-
The speed of yourself walking threw the picture directly affects the proportions of the pixelstick generated image.
-
Have a clear concept idea in mind before you start. E.g. typography can be very powerfull for lightpainting and it leaves you creative freedom of what you want to say.
-
You can use a pixelstick for single pictures, but also for generating stopmotion animations. A good animation takes much more time than a single lightpainting shot. Again, think about speed, body-movement and clear in- and outpoints which you can repeat in the darkness. Ducktape or chalk is a good helper to leave marks on the floor.
-
The surrounding might pick up the light too. Bright fine concrete floors can create a beautyfull reflection, as well as water/ rain does.
-
You can create different looks of a stick with milkglass filters, colorfilters and by the setting of your picture (borderless with black background or fullframe picture touching the edges of the image) Also black ducktape can be used to create broken line effects.
Preparing the picture of your choice
Grabbing a picture which you like is easy. Thinking about how to integrate this in a lightpainting is the higher level step. I took a sample of a 3D illusion created by Victor Vasarely back in 1968. If I would have taken the full picture like the original, it won´t float within my lightpainting, the picture would have become much more flat.
Prepare the file with a mask, so just black is touching all edges. This will help to let the image look floating in your lightpainting picture.
Depending on my movement and on the playtime setiings of the file, the circle can easily be adjusted to become a circle and not an oval egg shape.

As you can see in the lightpaintings below, already a little wrong movement or speed of yourself while walking in distance parallel to the cameras shooting direction will make your circles look kinda oval. If you fire the image multiple times, be aware of overlappings, like you can see it in the second picture where the image was three times repeated - here it would have been better to walk in one line and split the action into three slices with a gap between eachother so the circles will remain free with a bit of a distance to eachother.


COMBINING TWO IMAGES IN ONE PICTURE
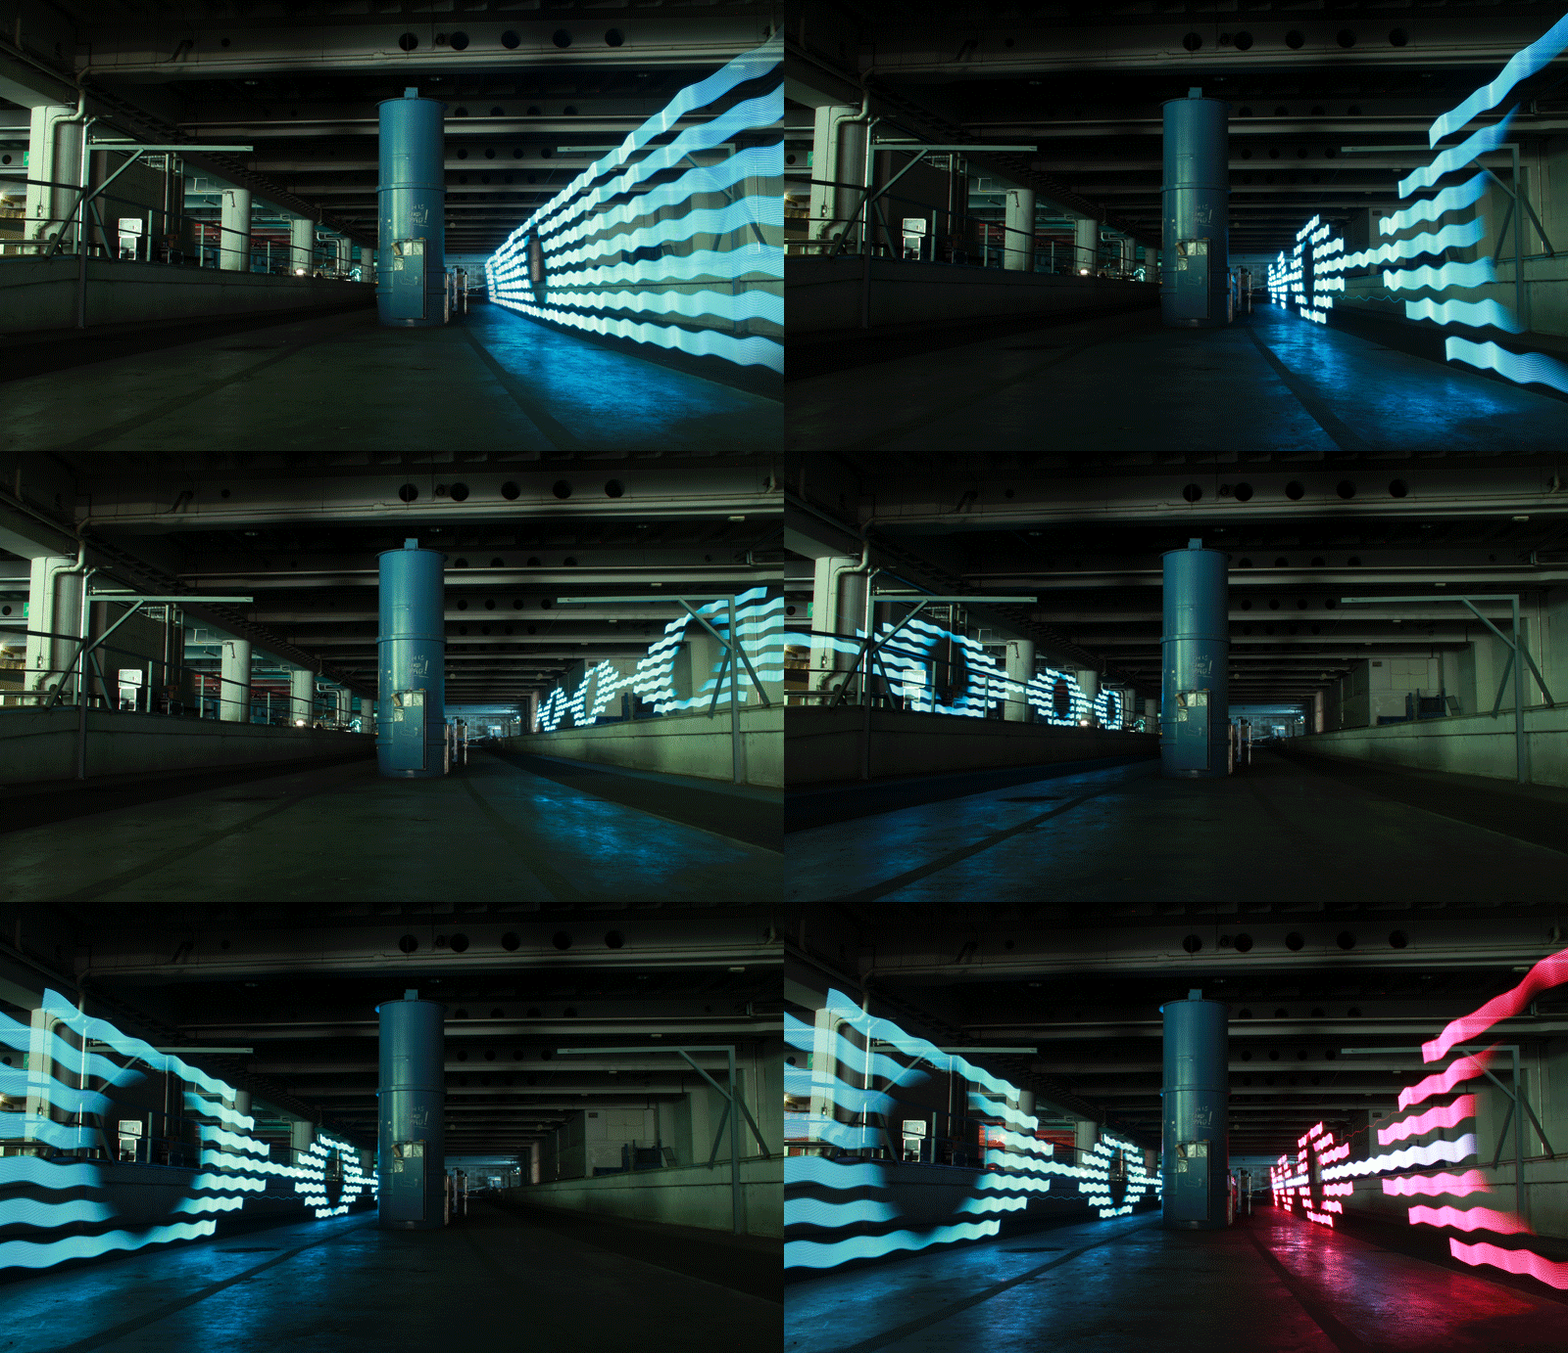
I´ve picked out the claim "OFF THE WALL" ´cause actually lightpainting is exactly about doing this, painting free off the wall.
As i wanted to combine two different images in one go, I first had to prepare the two files seperatly, grabbed the logo, adjusted the curves to get a clear black and white version and overlayed this with the same colors as they appear in the other picture.


When you create a fade to black on top of a color like in the blue part of the "off the wall" image, the LEDs of the stick will create a nice softedge fade which creates deepness, the sharp ending of a color like the pink finish sharp-edged. Also good to know - if you use a pixelstick without milkglass filters, the brightness of each single LED will create much more of a 3D effect when you twirl the stick.
In step one I moved the stick with the typo image "off the wall" from the ground (1) - next to a straight wall makes it easier to make sure it looks kinda flat. Move the stick slow and even to get a clear and less squeezed typography.
When you combine images in one picture, having a camera with live-view modus helps the procedure, otherwise you have to try out as long as the overlap of both fired images is creating a perfect match.
In the second step you start moving the stick upwards with a tight move towards the lens and then a bit back again. When you twirl the stick during this move, a simple glow-effect appears which will make your flat image much deeper with a nice 3D-taste.


CREATING STOPMOTION ANIMATIONS
Stopmotion is nothing different but the option to create a cool Super8 filmlook with lightainting pictures by putting one picture after the other in a filmediting software and export it as a clip. There are tons of nice gif animations to find on the web, so it´s up to your choice to pick out a good one for this experiment.
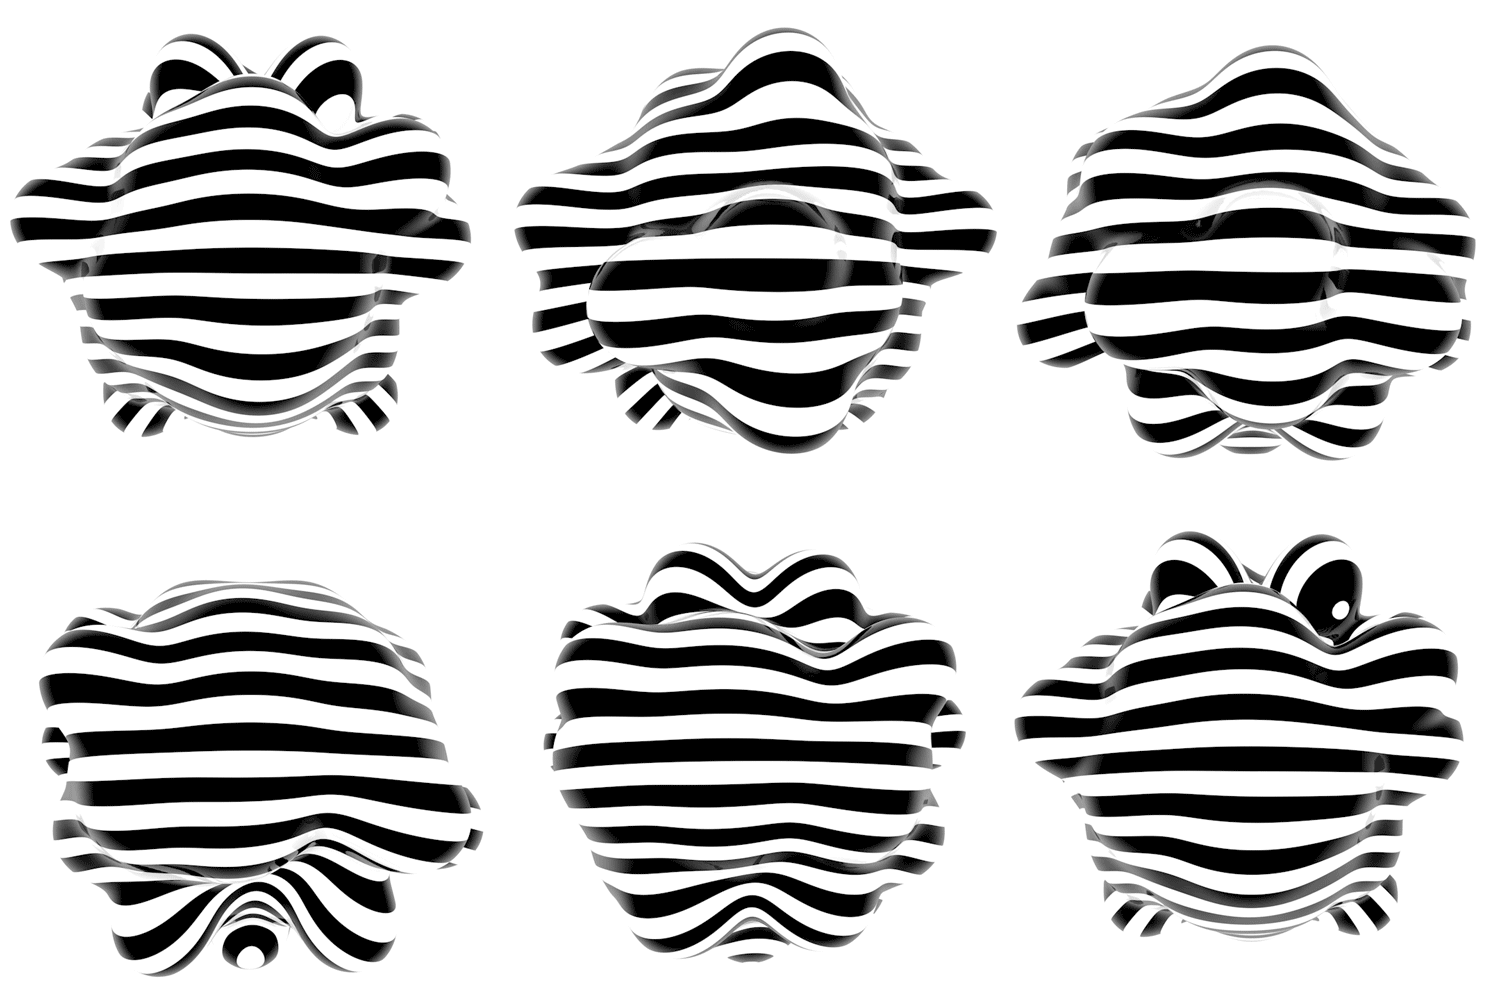
I always was a fan of PATAKK, who´s a genius gif-animator working with processing and C4D. So I grabbed the animation you can see below, inverted and resized it to 200x200 pixel, exporting then the single frames of the animation as bitmap files with black background for feeding my pixelstick.
When you open a gif with a picture-editor, e.g. in Photoshop, it will show you a full timeline of all frames. You´ve to downsize the image to 200pixel (or the neede size of your pixelstick-settings) and export each frame as bmp (Windows, 24bit), so the pixelstick can read the files.
Keep in mind: the longer the animation duration is, the more frames you have to reproduce. When you try this for the first time, pick out a gif that is repeating in a very quick loop, e.g. with 5-10 frames, so you can easily create your first digital-to-analogue-back-to-digital animation.
Creating a series for a lightpainting stopmotion animation works best in combination with a remote control. First try out to find the right bodymovement and speed to recreate the right aspect-ratio of the image. Once you´re done with this, you´re ready to go! Repeat the same movement in the same distance to the camera with all the animation-images in single lightpainting pictures.
This can take quiet a while. In my sample I´ve picked out this animation by PATAKK which contains 30 single frames.


When you shoot with a pro-camera, the filesize of your picture will be much bigger than the needed film-size (1920x1080 pixel for HD). So out of a simple animation you can create tons of different clips, showing e.g. the HD-size-matching animation or only parts of the full picture. The samplevideo below shows 30 animated singleshots photographed with my Canon 7D, edited as a loop-clip in three different scaled parts.
Attention: when you scale down your images from 5184 x 3456 pixel to fit into an HD filmsize, the aspect-ratio of your image would normally be 1920x1280, so you will have to cut 200pixels off the height, so better have this in mind while producing the lightpainting pictures.
The second part of the clip shows 100% picturesize placed centered in an HD setting and last a 70% squeezed output of the original pictureseries.
VARIATONS MATTER
While I was working on an animationseries during ARS ELECTRONICA Festival 2015, I realized that it helps to have different versions of one pixelstick-image. Also combining different techniques to create a longer clip is much more fun than just repeating the same procedure over and over.
These two basic files were there at the beginning of the gif-animation output. The animation shows a loop of 6 pictures only each of them showing 3 frames (that´s actually the time an ey needs to see a clear image). To get a smooth running loop, also take plain pictures of the location to include in the gif so the eye gets some relaxation while watching, otherwise the gif will start flickering awkward.
The second film is the result of 3 days work in progress, containing more than 400 single shots which are edited to a stopmotion-clip.


THINK IN PROPORTIONS
There are also very important proportion-guidelines which you should think about upfront: once the bmp-image is loaded onto a pixelstick you can´t rescale it or change the position of the image. You can change the direction or rotate the image, but that´s it.
Let´s say you have a supernice seat at home and you want to place a tiny kitten on it with the combination of real furniture and a digital cat. So the seat is already there, it´s real and can be lit punctional with any normal flashlight or lightsource during your longtime exposure.
Now there is a little problem with the cat - it´s way too long and if you upload the image in 200x fullsize, the cat won´t fit on the seat.
Now you have to check from which perspective you want to shoot to combine fiction and real.
The cat has either to be placed on your preferred height (see left image of the red chair below).
This mainly works with frontal cameraperspective, otherwise your cat will float in the air infront of the chair.
Or you place the image on the bottom of your bmp file (see right image with the red chair below), so by simply place the pixelstick on the polstery and moving it in one direction, you place the cat where it normally sits.
It´s sometimes better to save size-variations of the same image (name75.bmp, name50.bmp, aso.) just in case you have to find the right size and don´t have a laptop with you to rescale the image.


